

Filter data during your session
Prerequisites
-
You have the Insights Reader license.
Page location
Insights > Dashboards > Click a dashboard
Procedures
NOTE Your filters aren't saved from one session to the next.
Filter data across the entire dashboard
- If your dashboard has Controls at the top of the screen, use them to filter data by choosing from a preset list of values.
Filter data in a single widget
-
Use the filter icon on each widget's settings menu.
Create your own filter
-
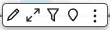
Click Filter on the left side of the page. The filter icon looks like the following.

-
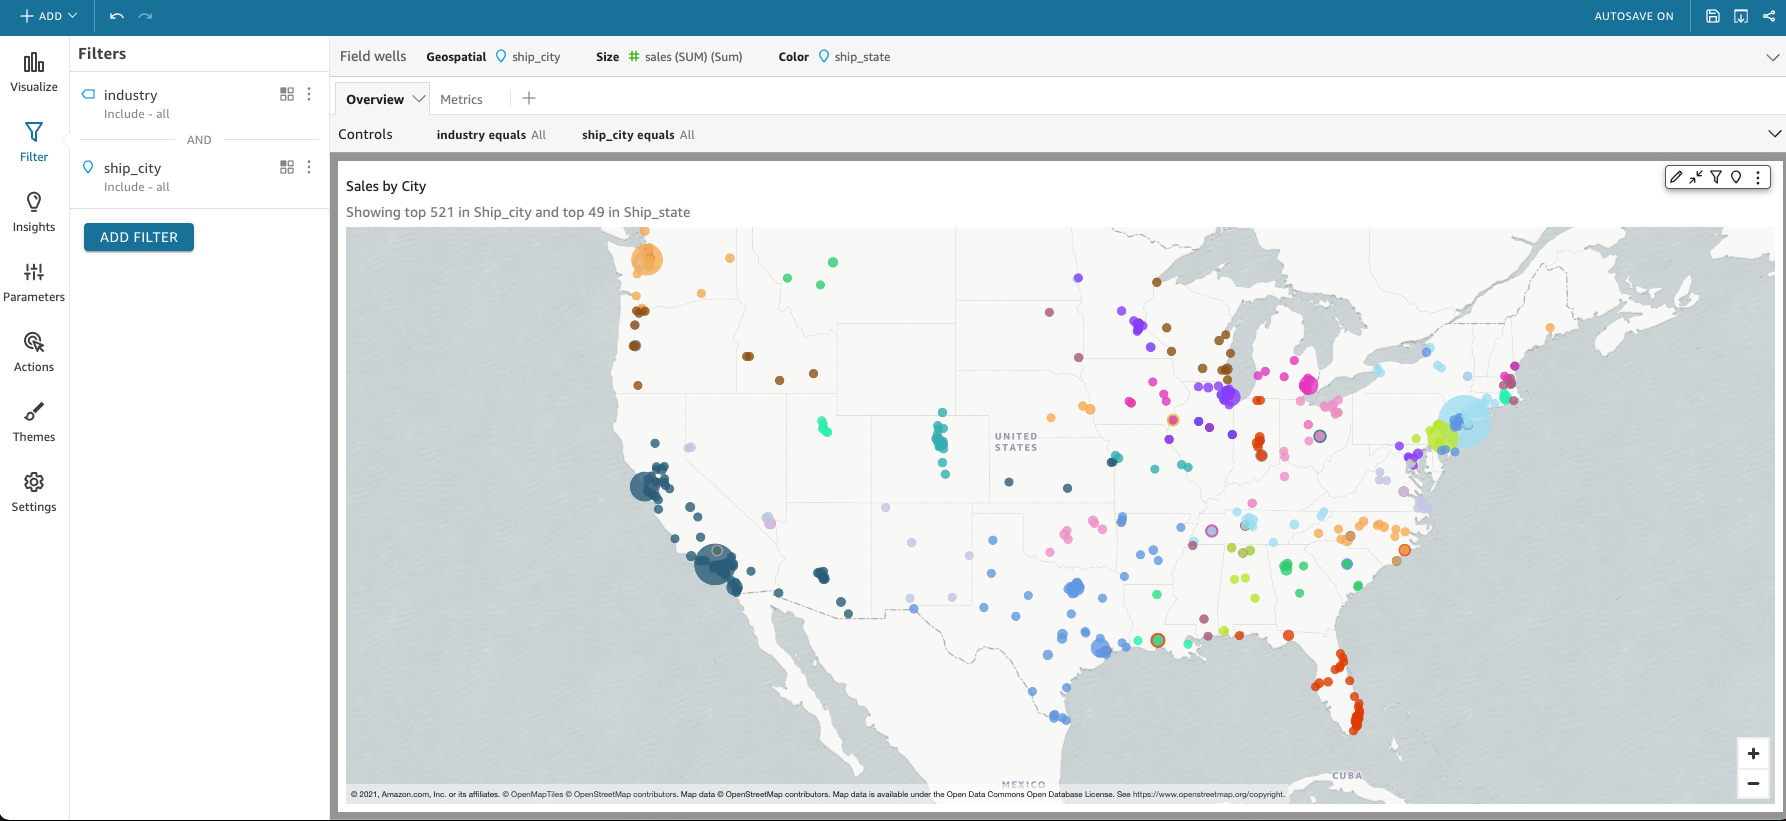
Click the dashboard element you want to filter so that a highlight appears around the selected item. If any filters are already there, they appear in a list.
If there aren't any filters, click the plus sign (+) near Filters to add one.
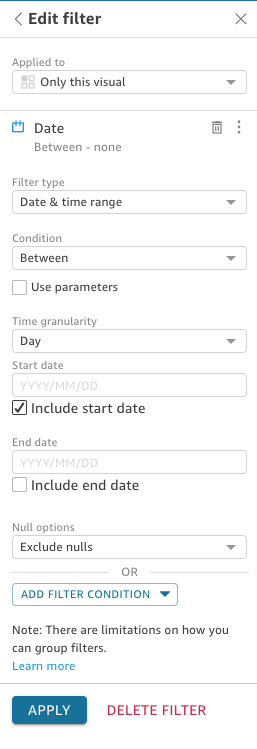
Filtering options vary depending on the data type of the field you want to filter and on the options you choose inside the filter. The following screenshot shows some of the options available for a time-range date filter.
- For each filter, choose whether to apply it to one, some, or all dashboard elements.
Enable or disable a filter
- Select the check box next to the name of the filter.
Delete a filter
- Edit the filter, scroll to the bottom, and click Delete Filter.
Related topics
- Filter data in Insights—More detailed information on creating filters
- Use filters on dashboard data
- Sort dashboard data
- Export and print interactive dashboard reports