

How many calls has each agent recorded today?
Step 1: Add the Contacts measure
- On the Data Explorer page, click New Report (upper left corner of the page). The blank report page appears.
- Click [measure]. The Select Measure window opens.
- Select Contacts.
-
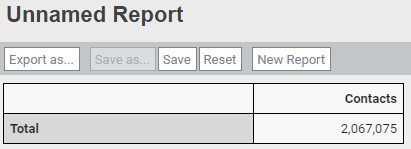
Click Add. The Measure: Contacts window closes, and the basic report appears. At this point, it looks like this:
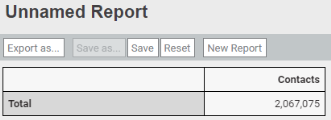
This is the total number of contacts taken since your organization began using Calabrio ONE. This isn’t a very helpful number, but things will start to make more sense in the next step.
Step 2: Group the contacts by agent
In this step, we start dividing your organization’s total number of contacts into meaningful buckets.
- Click [grouping]. The Select Grouping window opens.
- Select Person.
-
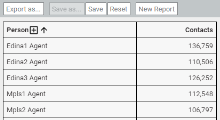
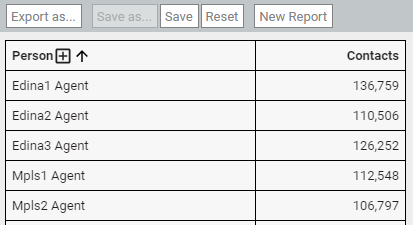
Click Add. The Grouping: Person window closes, and the report now separates the total number of contacts by person. We’ve shown only the first few rows here; you probably have many more.
Step 3: Limit to today’s contacts
In this step, we eliminate all contacts that were recorded before today.
- Click [limit]. The Select Filter window opens.
- Click Time.
- Select Contact Start Time.
- In the Period panel, select Contact Start Time.
-
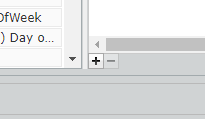
Click Add Filter (the + icon). The Select Period window opens.
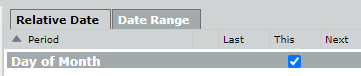
- Select Day of Month.
- Click OK. The Select Period window closes.
-
Select This.
-
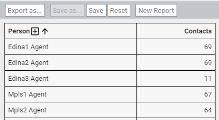
Click Add. The Filter: Contact Start Time window closes. The report now shows a much more manageable number of contacts per agent.


Step 4 (optional): Format the report as a chart
As a final step, let’s change the format so that we can more easily compare the number of calls across agents.
- Click View (upper right corner of the page).
- Under View Type, select Column.
- Under Legend, select None from the Location drop-down list.
- Under Data Series Format, select On from the Data Labels drop-down list.
Step 5: Name and save the report
- Click Save (upper left corner of the page). The Save Report window opens.
- Enter a name for the report.
- Click Save. The Save Report window closes, and the report name appears in the upper left corner of the page.