

Configure Cisco Webex Contact Center
You need to perform the procedures listed in this topic within your Webex Control Hub prior to setting up the CWCC 2.0 connection in Calabrio ONE.
- Webex Contact Center admin credentials (username and password)
- Calabrio ONE Tenant ID
- Calabrio ONE ACD ID
- Calabrio ONE tenant admin credentials (username and password)
- Calabrio ONE domain URL (e.g. the "us3" portion in www.us3.calabriocloud.com)
Prerequisites
-
The username is in FQDN format.
-
The user has access to the Webex CC 2.0 API and Webex CC 2.0 Media API.
-
The username cannot be a personal email address.
-
The username must be an email address created using Active Directory sync to Cisco or created manually in the Cisco admin portal.
NOTE If Active Directory sync is enabled later and the email address does not exist in Active Directory, then the set up in Cisco will be erased. There will be duplicate teams and users caused by synchronization issues with a new email address.
Configuration Procedures
Assign roles and permissions
The user account used in this procedure is later used to complete the oauth process needed to integrate with Calabrio ONE.
- Access the Webex Control Hub for administrators by navigating to admin.webex.com and entering your credentials.
-
Click Users under Management within the left navigation bar.
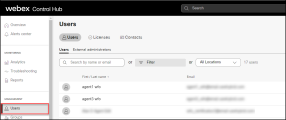
- From the Users page, select the desired user from the table.
-
Ensure the user has, at a minimum, the licenses and role listed in the table below.

- If the proper licenses are not assigned to the user, click Edit Licenses within the Licenses section and then click Edit Licenses again from the license summary page.
-
Modify the licenses as necessary, then click Save.
-
If the proper roles are not assigned, select the currently assigned role within the Administrator roles section on the user's page.
-
Modify the roles as necessary, then click Save.
Licenses Messaging Basic Messaging Advanced Messaging
Meeting Basic Space Meetings Advanced Space Meetings
Webex Meetings Suite
Calling Call on Webex (1:1 call, non-PSTN) Contact Center
Contact Center Admin
Licensed Agent > Premium Agent
Role Services Contact center service admin
NOTE If you experience sync issues, then select the Organizational admin check box and assign the Full admin role.


Configure Contact Center settings
-
Navigate to the Contact Center page within the left navigation bar Services section.
-
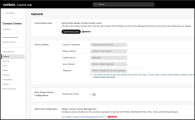
Click General under Tenant Settings in the Contact Center left navigation menu.

-
Click Synchronize Users.
-
Click the Go to Webex Contact Center Management Portal link. The Management Portal opens in a separate window.
-
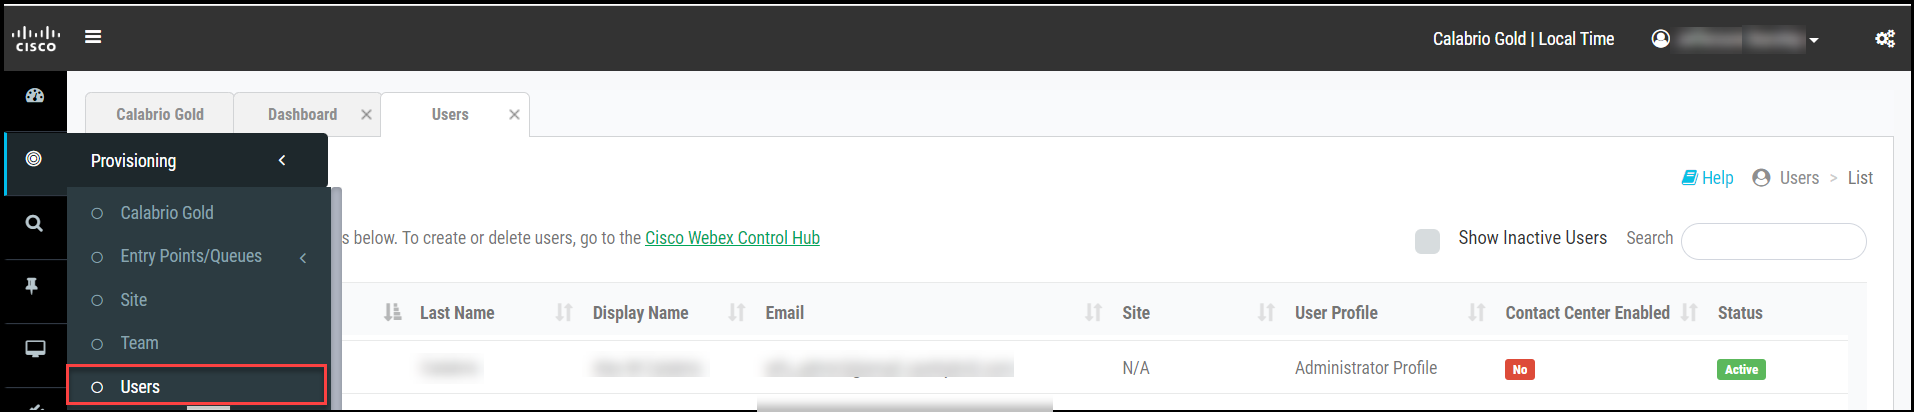
From the Management Portal, ensure that your API account is synced by navigating to Provisioning > Users from the left navigation bar.
NOTE The Contact Center Enabled status is No for this account.


Configure Apps settings
-
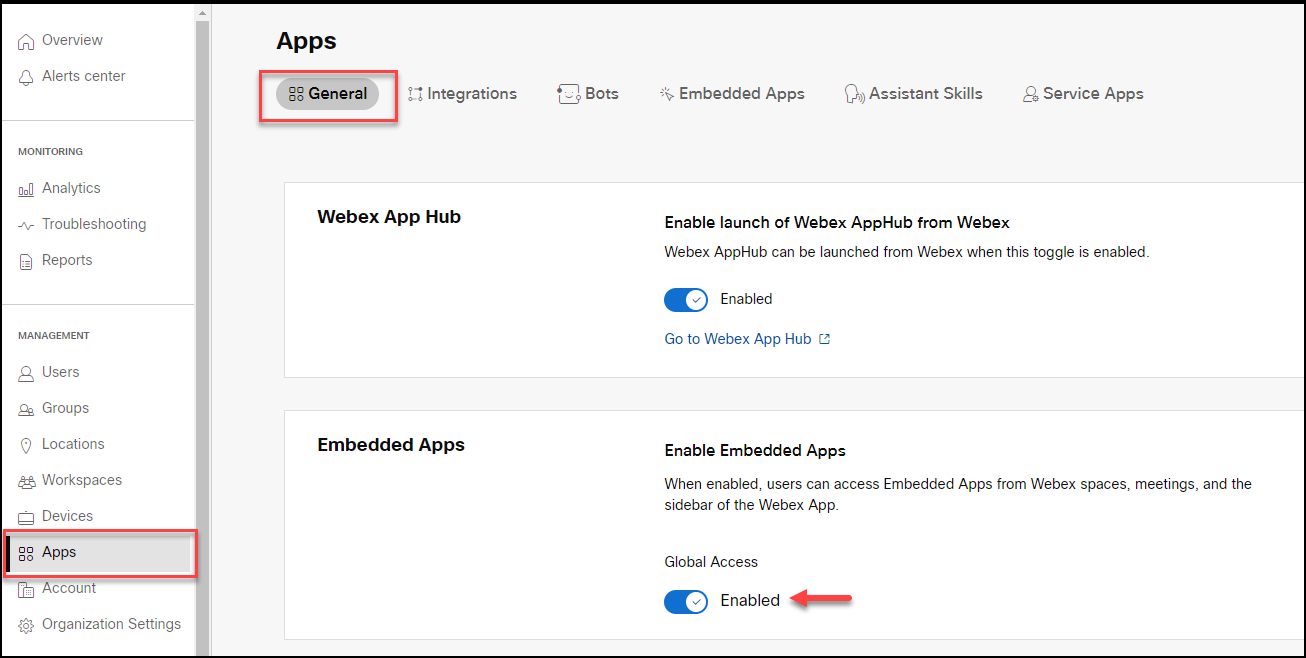
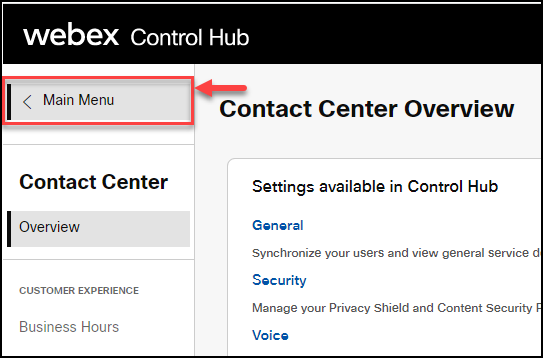
Click Apps in the Management section of the left navigation bar.
NOTE If you are on any of the Contact Center pages, then you need to click Main Menu to access the Apps page.

-
From the General tab of the Apps page, switch the Global Access Enabled toggle on.
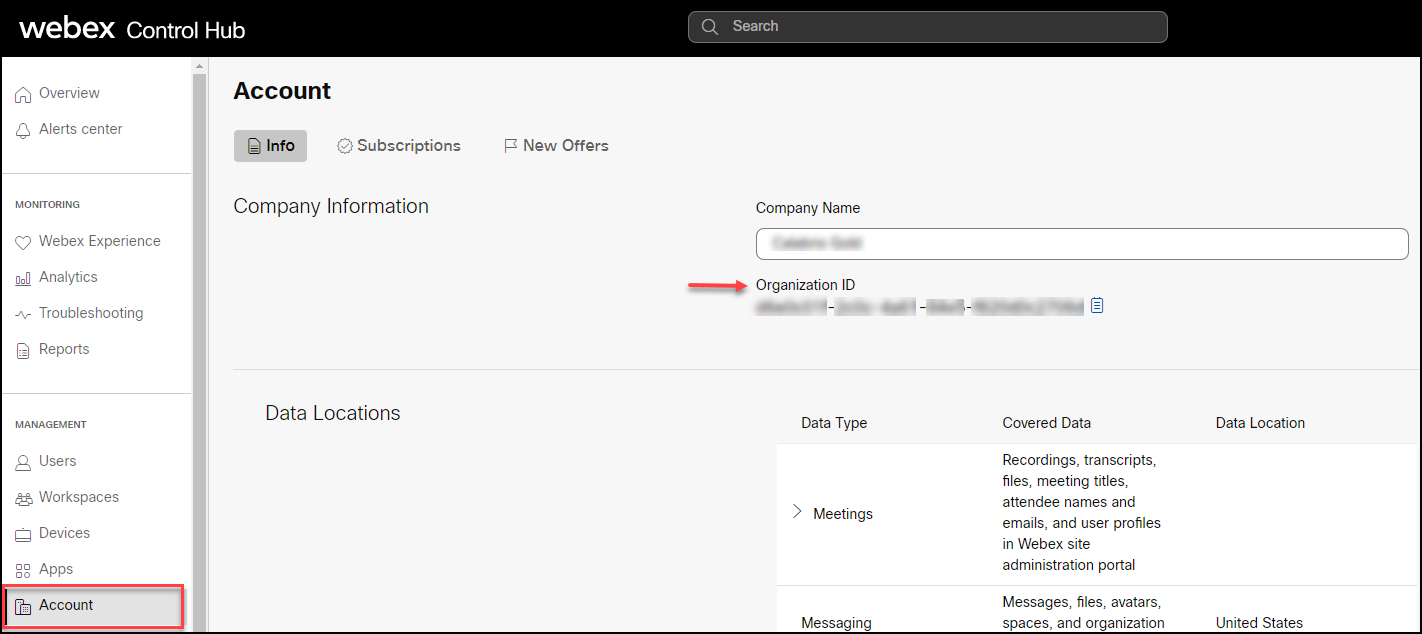
Locate your Organization ID
-
Navigate to the Account page from the left navigation bar.
-
Save your Organization ID in an easy-to-access location. Your Cisco Organization ID is required when you set up the connection to CWCC 2.0 in Calabrio ONE. Your Organization ID is also known as Tenant ID in Calabrio ONE.
Map API endpoints
Refer to https://developer.webex-cx.com/faq/#discoveryAvailability for the latest definitive list of APIs currently available.
Validate the configuration
-
Attempt to log into https://developer.webex-cx.com/ using a private browser window such as Incognito for Chrome or InPrivate for Edge browsers.
-
If your log in attempt fails, open a support ticket with Cisco or your organization's certified partner.
-
Attempt to log into https://web.webex.com/ using a private browser window such as Incognito for Chrome or InPrivate for Edge browsers.
-
If your log in attempt fails, open a support ticket with Cisco or your organization's certified partner.
Enable the integration with Pro Pack
IMPORTANT Only conduct this procedure if you have Pro Pack.
-
Log into Webex Control Hub at https://admin.webex.com/.
-
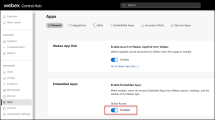
Click Apps under Management in the left navigation bar.
-
Under Embedded Apps, toggle Global Access to Enabled.
-
Click Integrations.
-
Allow access to the Calabrio ONE integration by clicking on the integration in the list or by searching for the integration by its App ID. The integration's properties window opens.
Calabrio App ID —
Y2lzY29zcGFyazovL3VzL0FQUExJQ0FUSU9OL0M5Y2FmZmM3ZGVjZWI3NzkwMGM4OTY3MmM4MTVmYjNmYWJjZGI4OGNhYmIxNzNhZjlhNjBlZTg0YTNjYjQ4NTlm -
In Overview, toggle Access for Future Users to On.
-
Click All users.
-
Click Save.
